


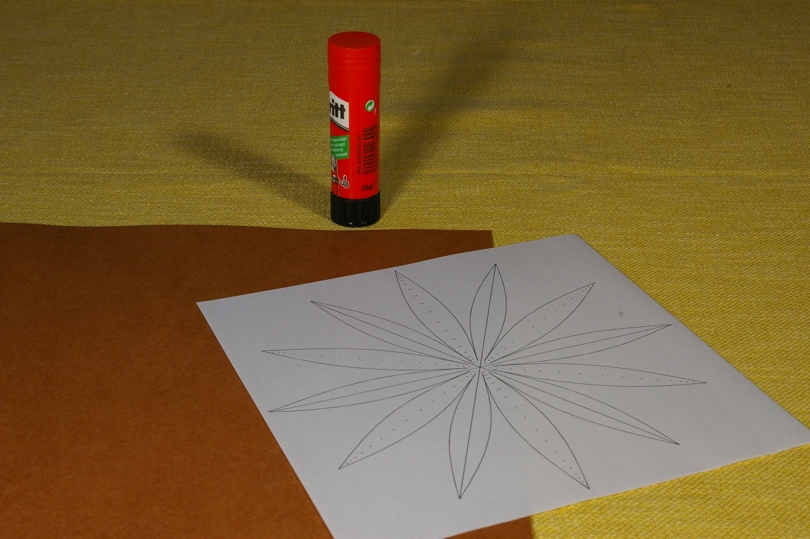
 1. Enlarge the lace pricking until it fits exactly on the styrofoam ball. |
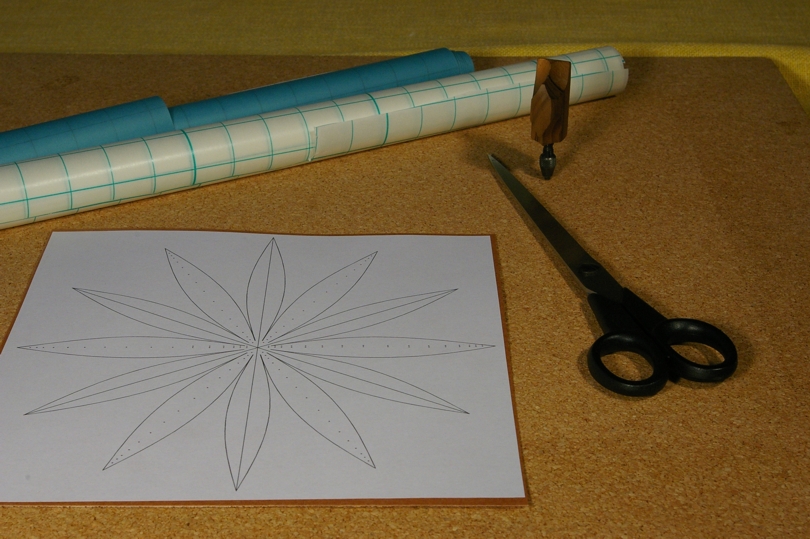 2. Glue it onto card, cover the pricking with plastic film and prick it. |
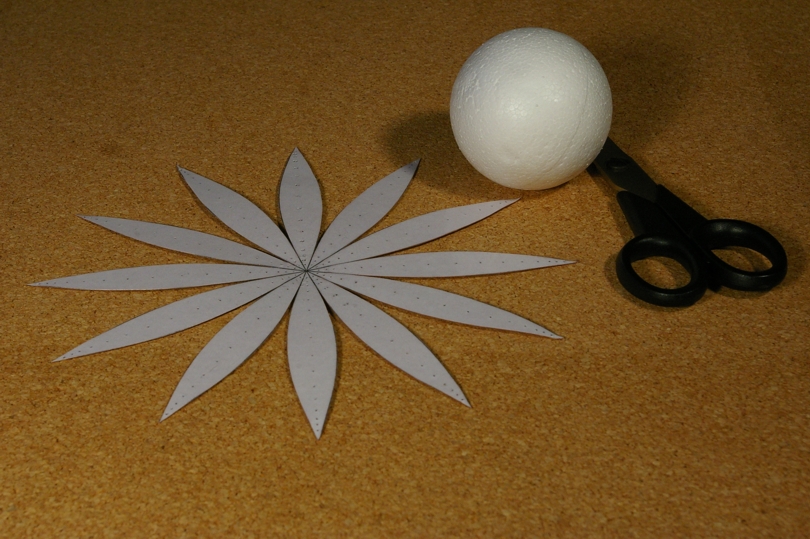 3. Now cut out the pricking exactly along the edges of the segments but make sure the segments stay attached to each other in the centre. |
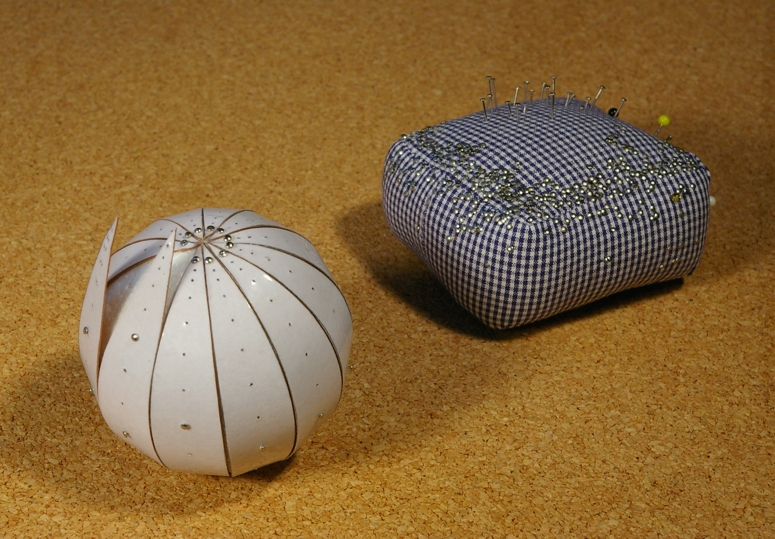 4. Pin the pricking onto the styrofoam ball. The lace is to be worked directly on the ball. |
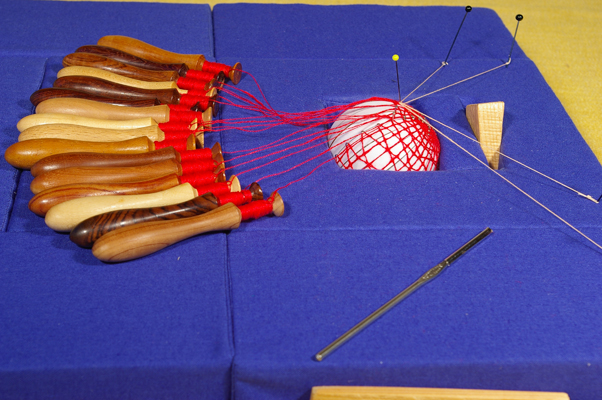 5. To hold the styrofoam ball firmly during the work you need a lace pillow with a pit. The latter must be deep enough that half of the ball vanishes into it. A |
little wooden
wedge and a block of hard polystyrene foam fix the ball in
place. The wedge is lifted briefly when the ball needs to
be turned during the work. In principle you can work in
any direction on the surface of the ball. My balls are
mostly worked with just a few pairs of bobbins in tape
lace. The tapes run either up and down the ball from pole
to pole or around the ball in a spiral. The tape is
usually worked continuously in one go and its turns are
joined during the work with sewings. Around the centre of
the ball, I work without sewings to produce an opening
through which the styrofoam ball can be removed at the
end. |
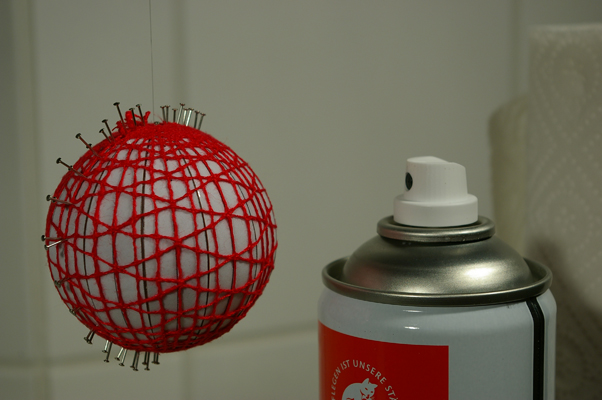 6. Starch the finished lace while it is still on the styrofoam ball. |
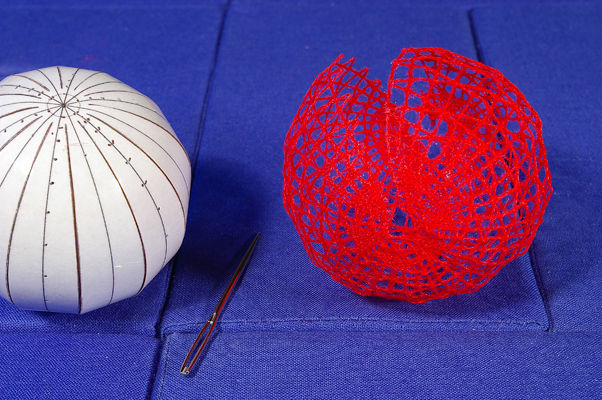 7. Then peel the lace off the styrofoam ball and lace pricking. |
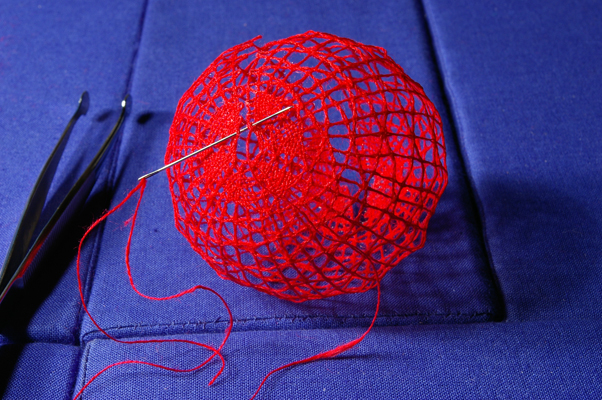 8. Sew up the opening. |